New Year Calendar design project

1
2
3

Drawing Description

2026 New Year Calendar DIY Done!

Highlights:

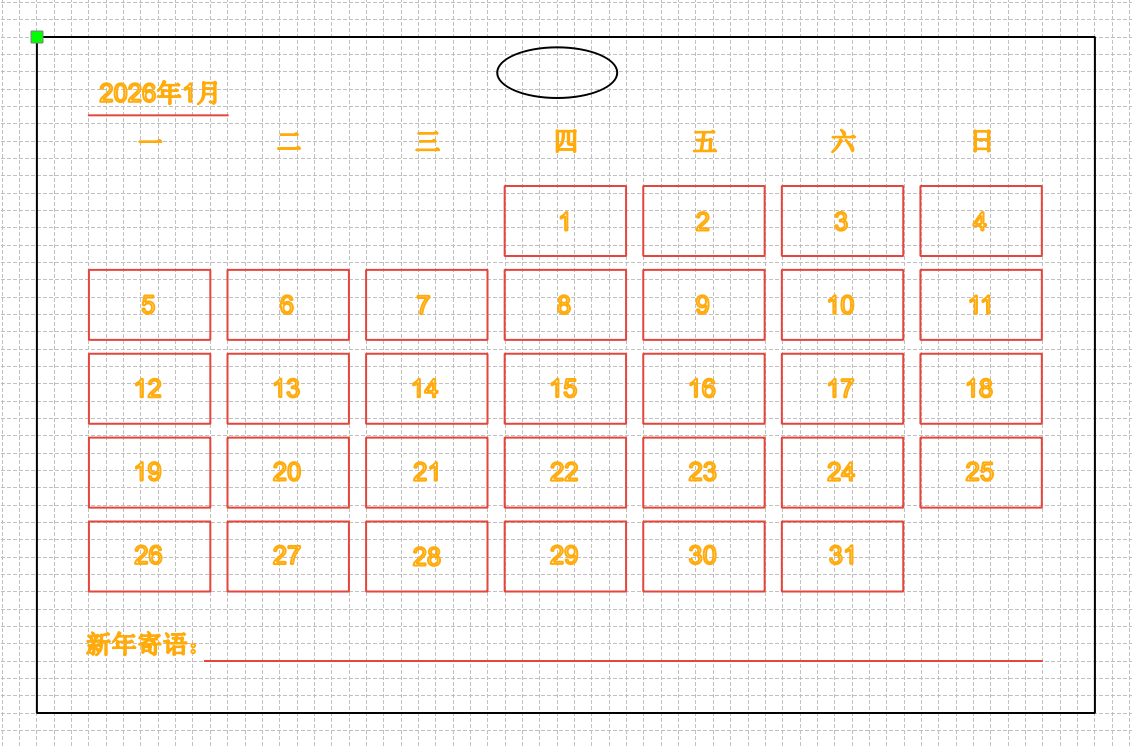
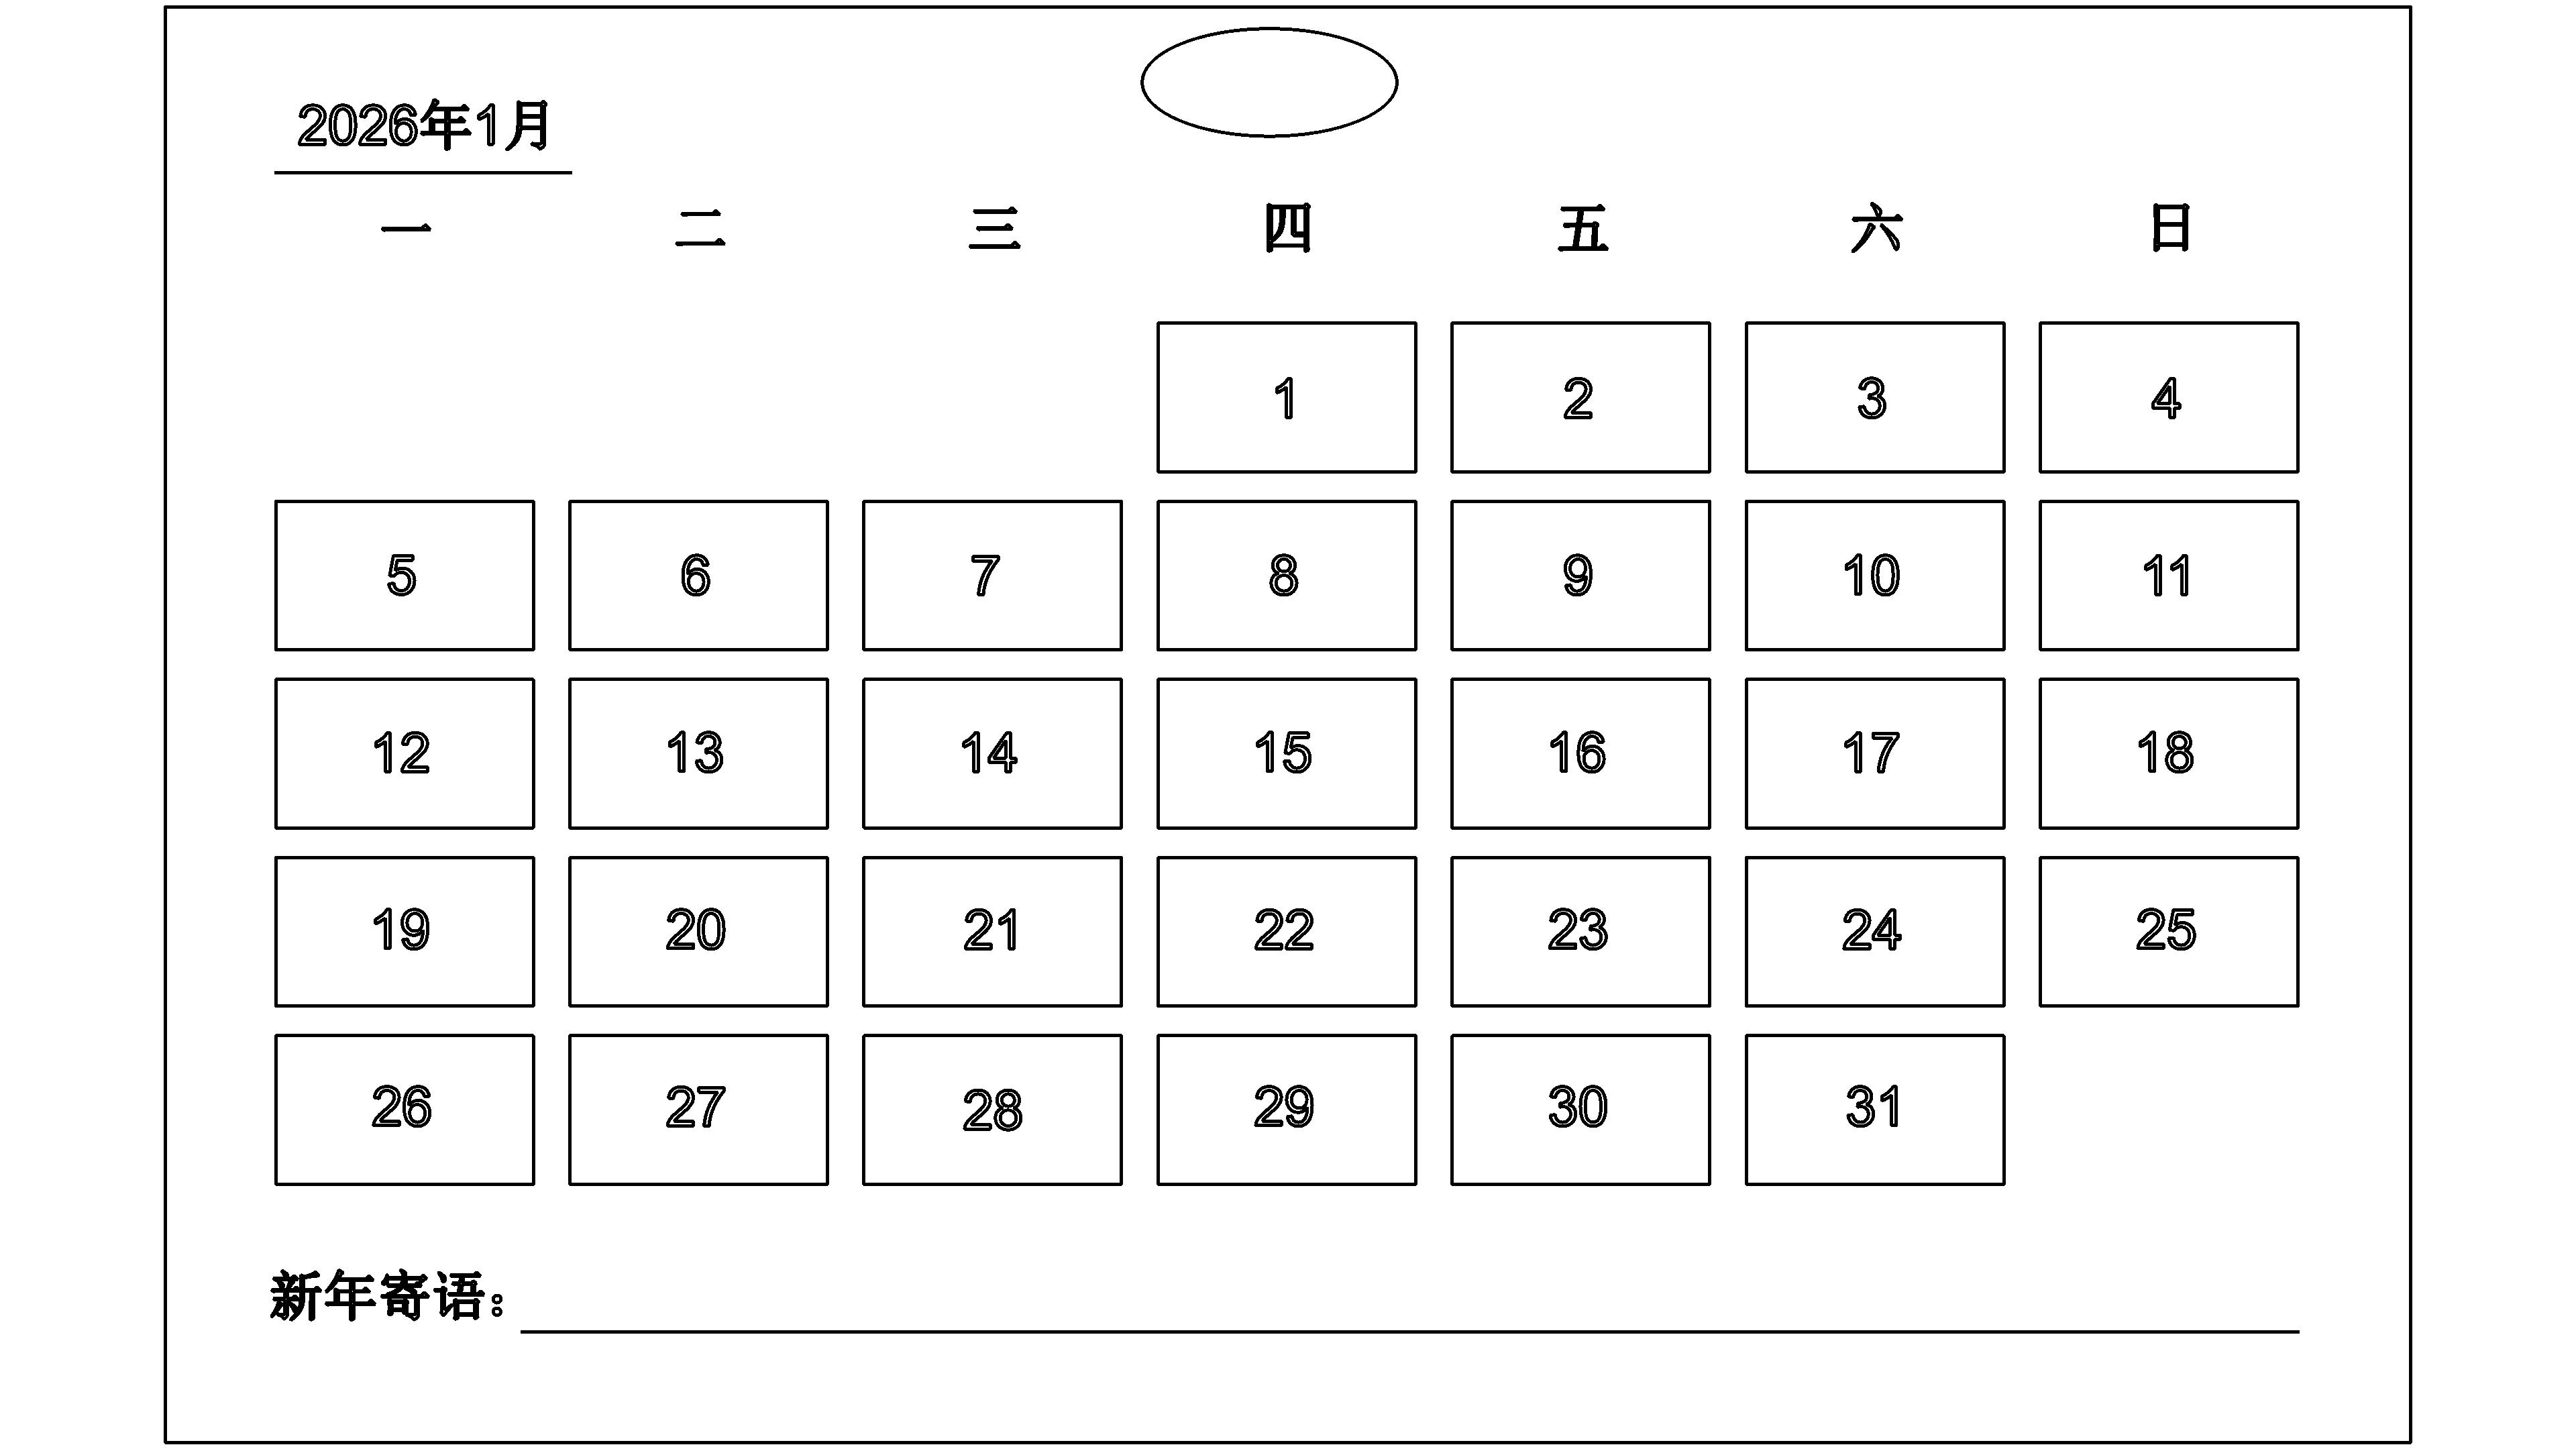
  ① Efficient layout of array tools:5×7 The matrix is done 31 Date, evenly spaced and not crowded;

  ② Thoughtful details: Exclusive New Year's message at the bottom, hanging hole at the top suitable for daily placement;

  ③ Clear craftsmanship: Huang Qian Diao + Black cutting + Red line drawing, balancing aesthetics and practicality.

Small sense of achievement: Master the principle of rectangular array, design exclusive New Year decorations by hand, and integrate creativity and expectations into every day~

drawing documents

New Year1Monthly Calendar
Drawing Cover - New Year1Monthly Calendar
Basic Parameters
CO2 RF tube
30w
0:21:6
process parameters
Processing Technology processed material pattern power(%) speed(mm/s) processing times
- - - - 1
New Year1Monthly Calendar Template
Drawing Cover - New Year1Monthly Calendar Template
Basic Parameters
CO2 RF tube
130w
0:6:39
process parameters
Processing Technology processed material pattern power(%) speed(mm/s) processing times
- - - - 1

Step 1: Basic Preparation - Single Digital Design and Process Setting

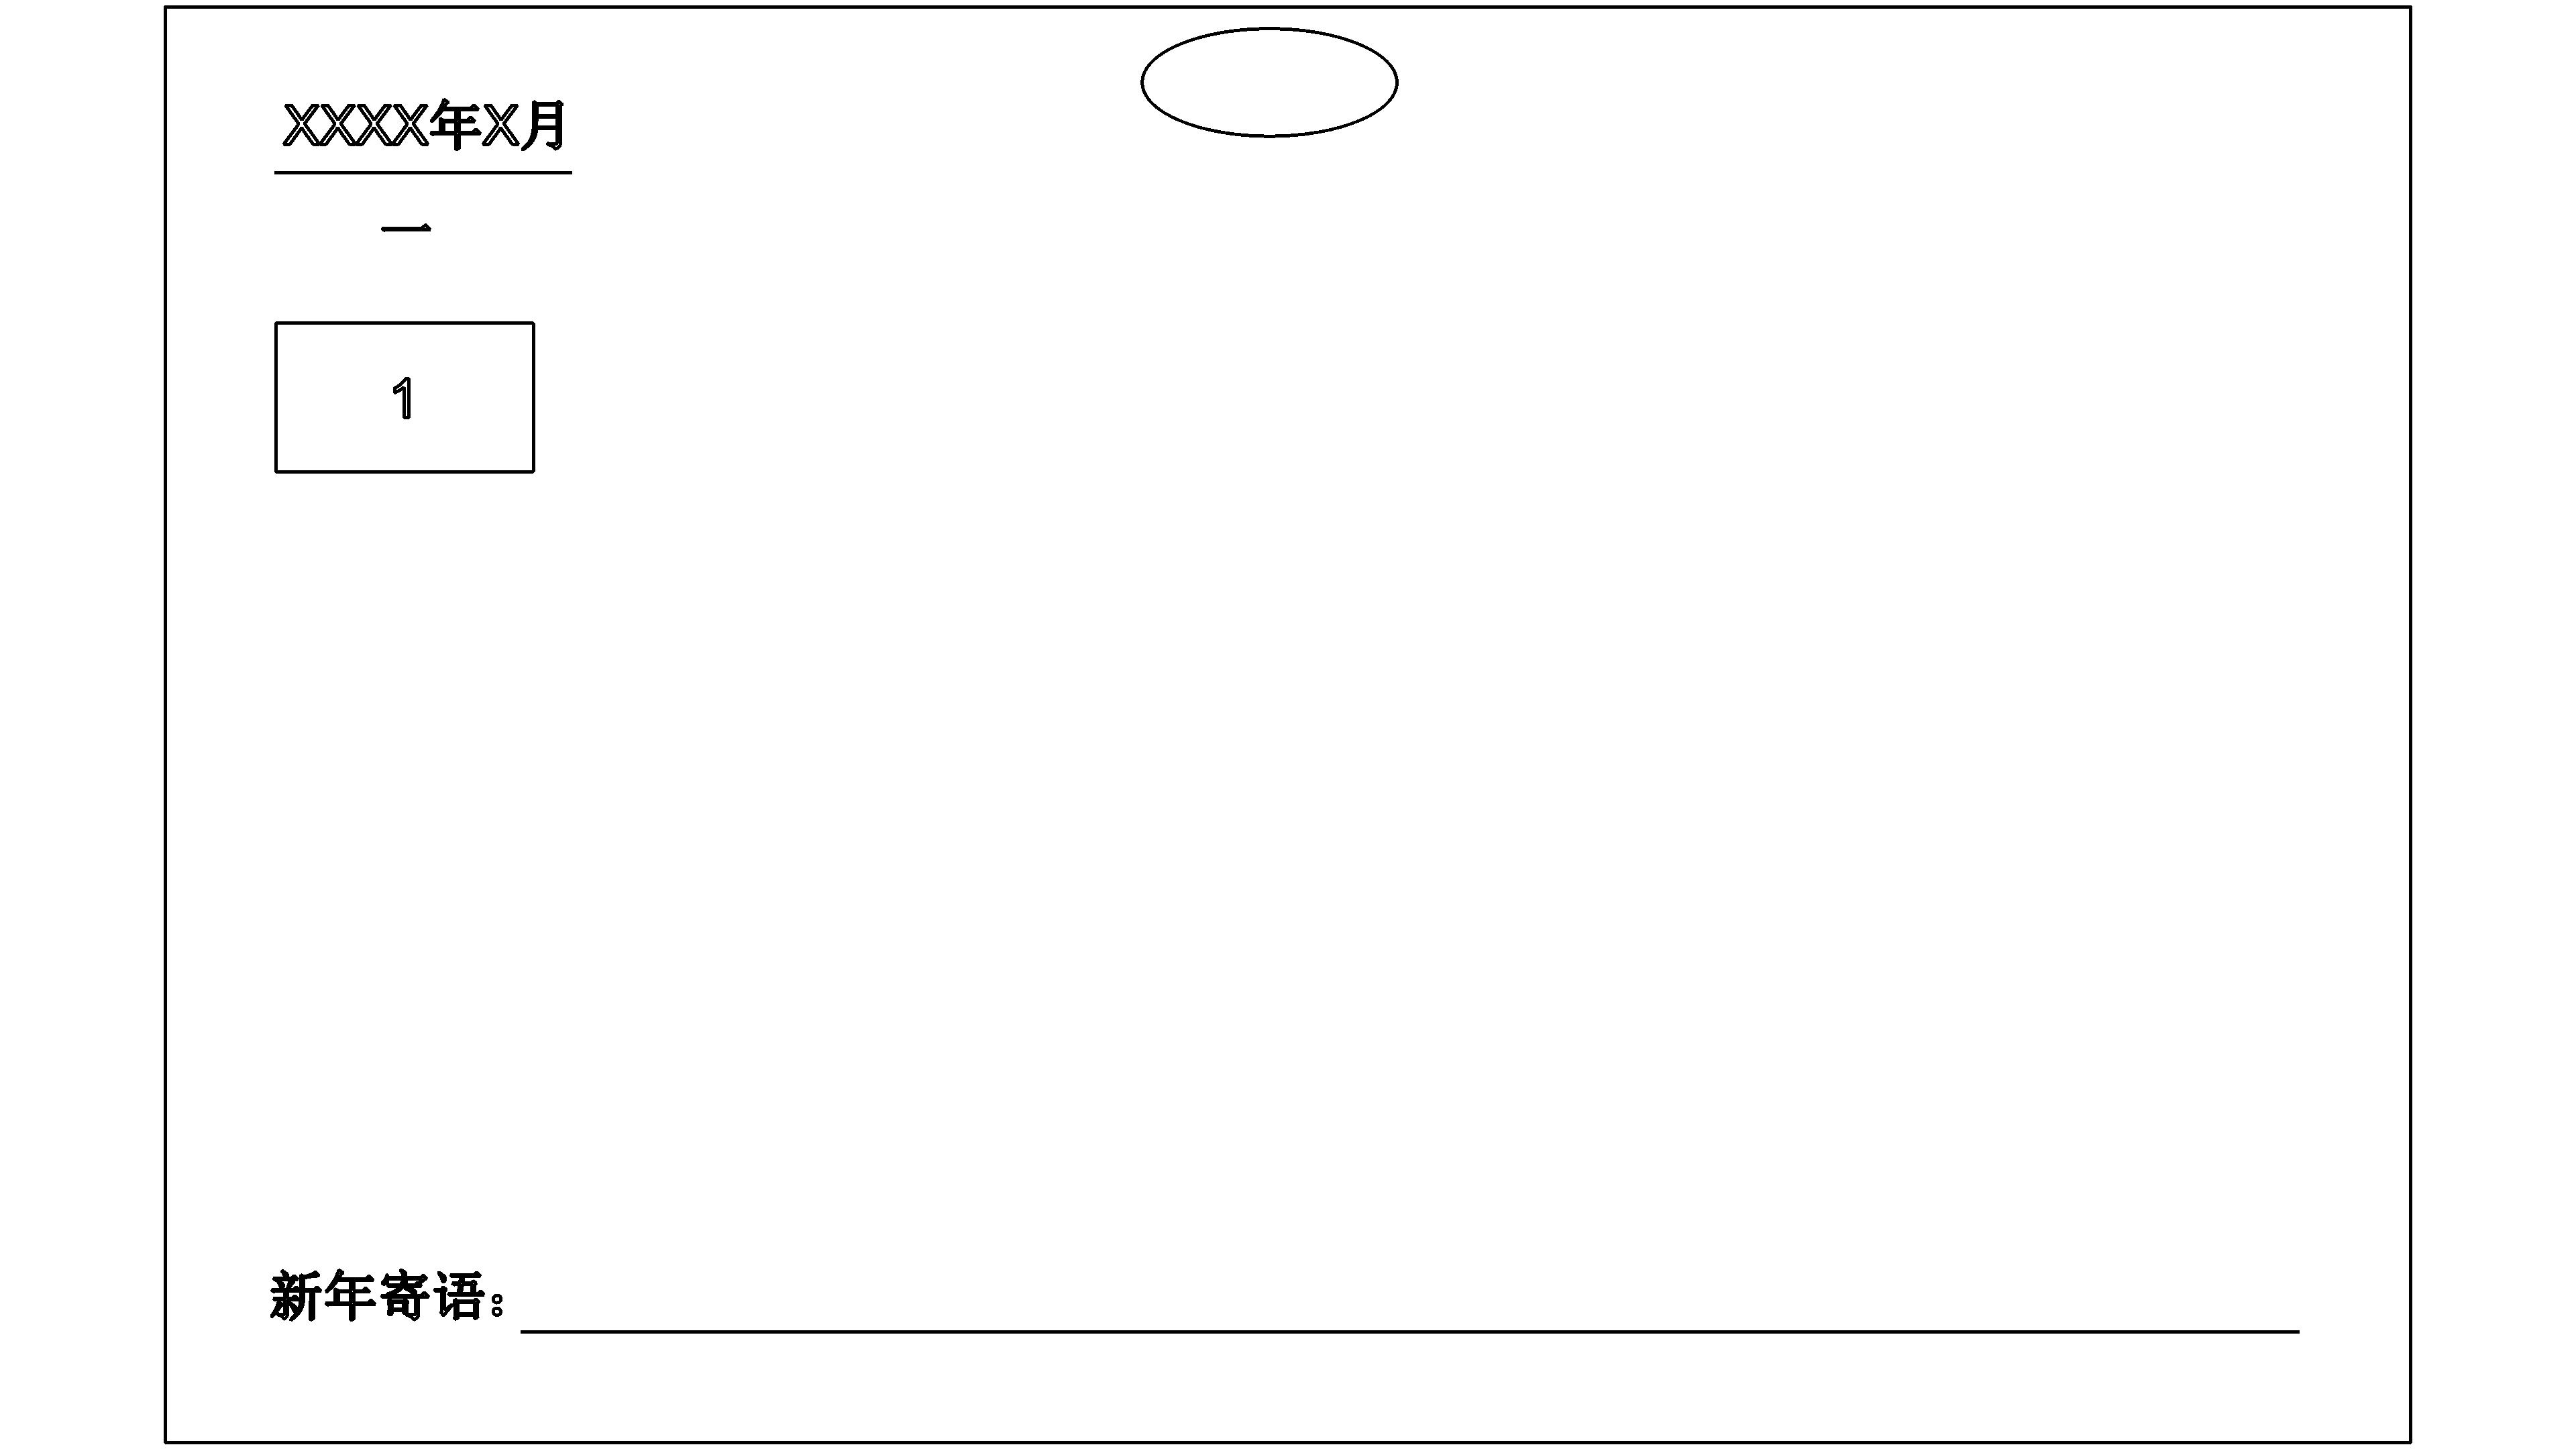
Open software and templates: StartLaserMaker 2.0Find and open the "New Year Calendar Basic Template" (including black calendar outline, cannot be modified).

Design a single date number: Enter the number using the 'Text Tool'“1”Choose bold and large font (ensure clarity).

Set process color: Select number“1”Change the color to yellow (corresponding to the light carving technique, giving the numbers a texture).

Save file: by name+calendar1”Save files in the specified format to avoid loss of works.


Step 2: Core Operations - Rectangular Array Setting and Date Arrangement

Launch Array Tool: Select the Designed Numbers“1”Open the "Array Tool Panel" in the software.

Settings5×7Matrix: Select "Rectangular Array" and set the "Number of Rows=5Number of columns=7”Click on the application (generate)35A number“1”A neat array).

Adjust spacing: Drag the "horizontal spacing" (reference)20mm)And 'vertical spacing' (reference)30mm)Slide to ensure that the numbers do not overlap or crowd, and are all within the outline of the calendar.

Date replacement and organization: Remove excess data from the array4Position (corresponding to)32-35Due to1Month only31Oh my god, then take the rest35A“1”Replace with numbers in the order of 'left to right, top to bottom'1-31.


Step 3: Detail optimization - message addition, suspension hole design, and final saving

Add New Year's message text box: Use the "Text Box Tool" to draw a text box in the blank space at the bottom of the calendar, and enter a pre conceived New Year's message (such as“2026Change the text color to yellow (light carving technique).

Design hanging hole: Use a "circular tool" to draw at the middle position of the top of the calendar1A small ellipse, change the color of the ellipse to black (corresponding to the cutting process, ensure that it can be punched and hung).

Overall inspection: Confirm that the dates are arranged neatly, the spacing is appropriate, the message does not cover the dates, and the hanging hole position is reasonable (not close to the edge).


comment (0)
Most pictures available 10 Zhang · Attachment support dxf/plt/lcp/lcpxAt most 3 a
将图片拖拽到这里或点击“选择图片”上传(支持多张)
New Year Calendar
drawing ID: SUCAI-1070 2025-12-30 16:19
0
0
0
0
10Contribution points
Purchase points
collection
like
Grade discount
Basic Information
  • classification

  • copyright

    open source licenseCC-BY-NCProhibit commercial use;
  • Business License

    Further information

label
Update time 2025-12-30 16:19
advertisement