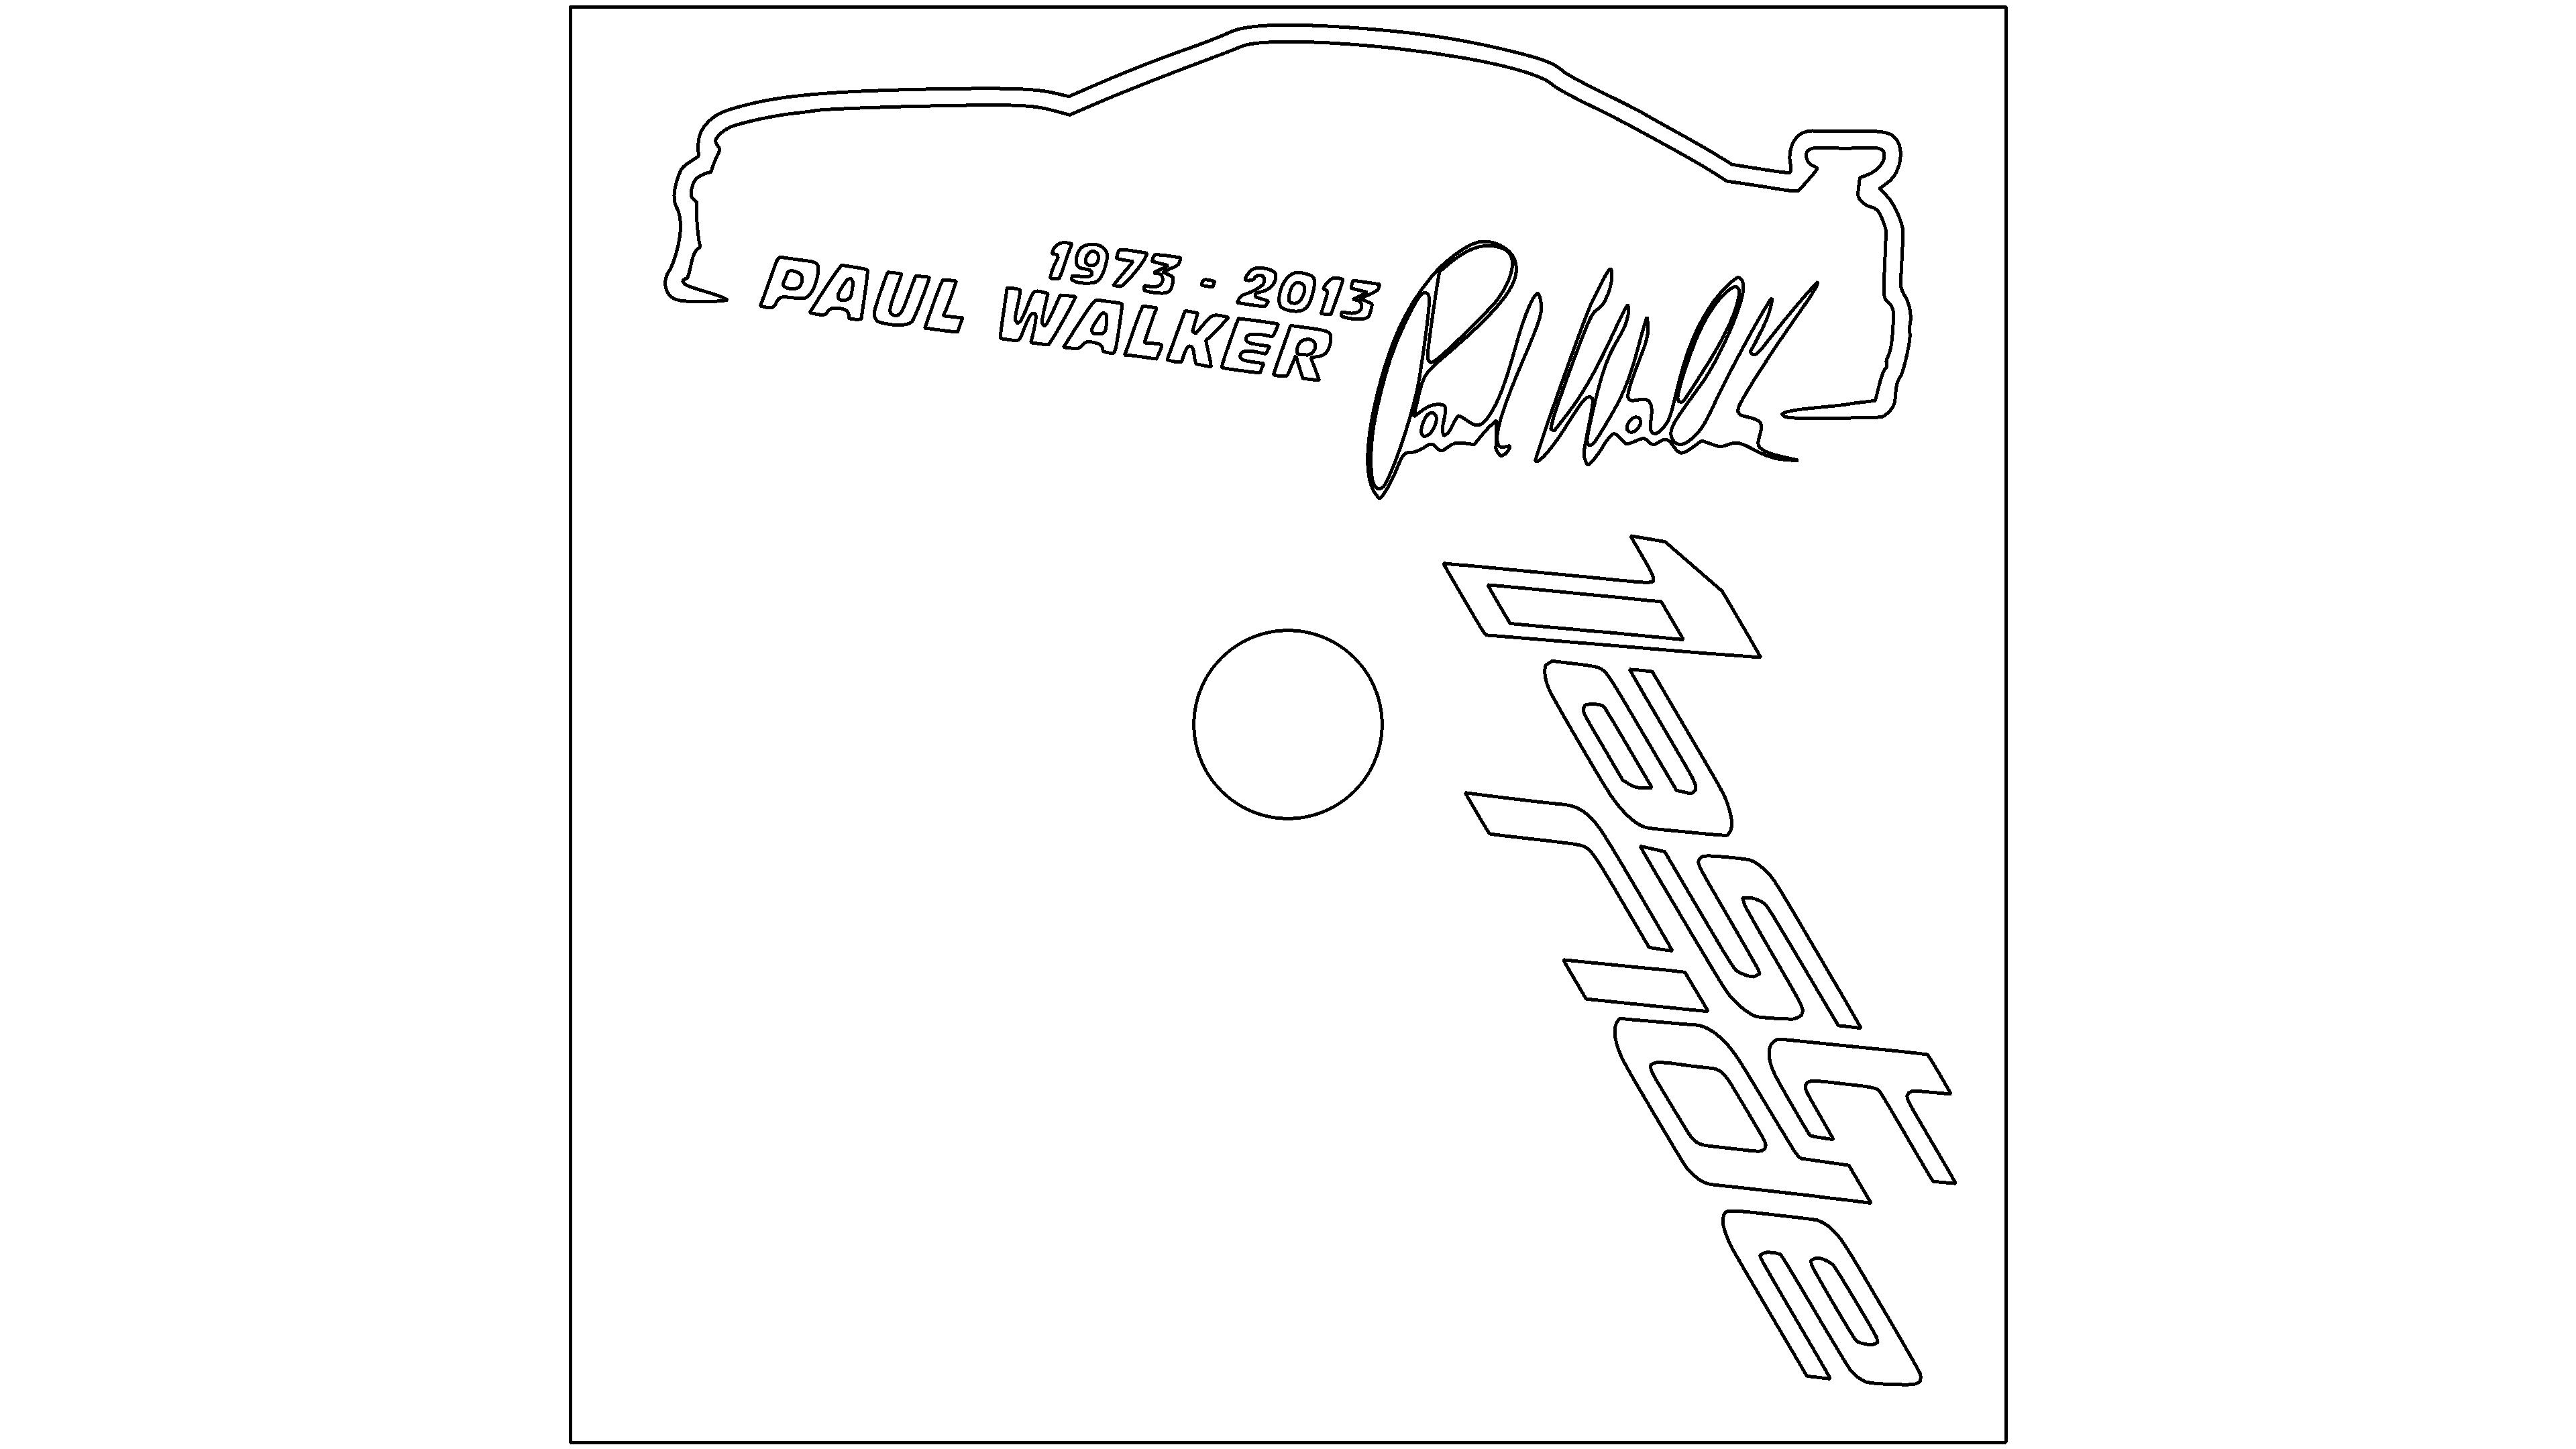
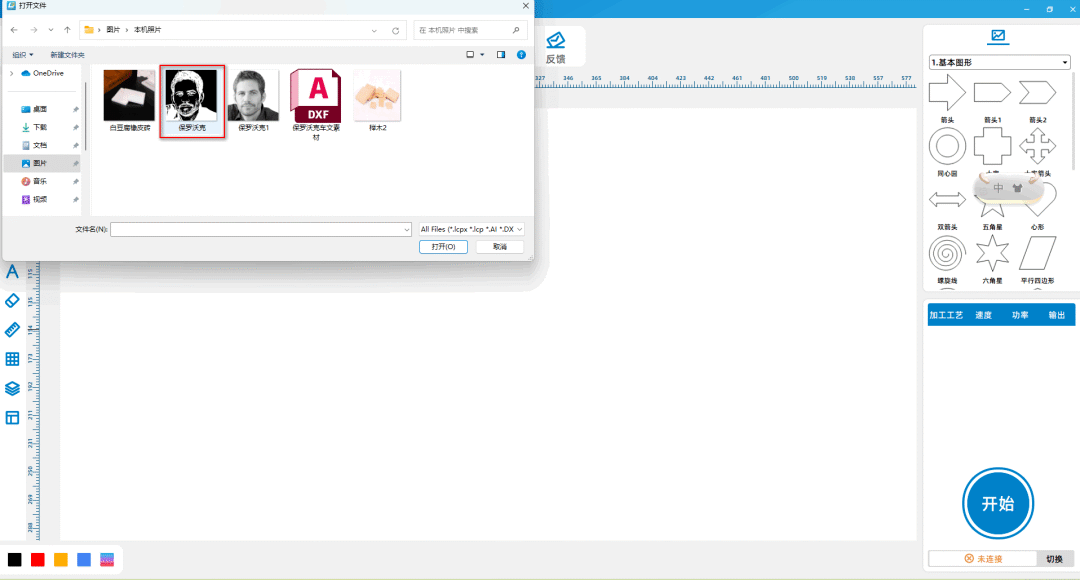
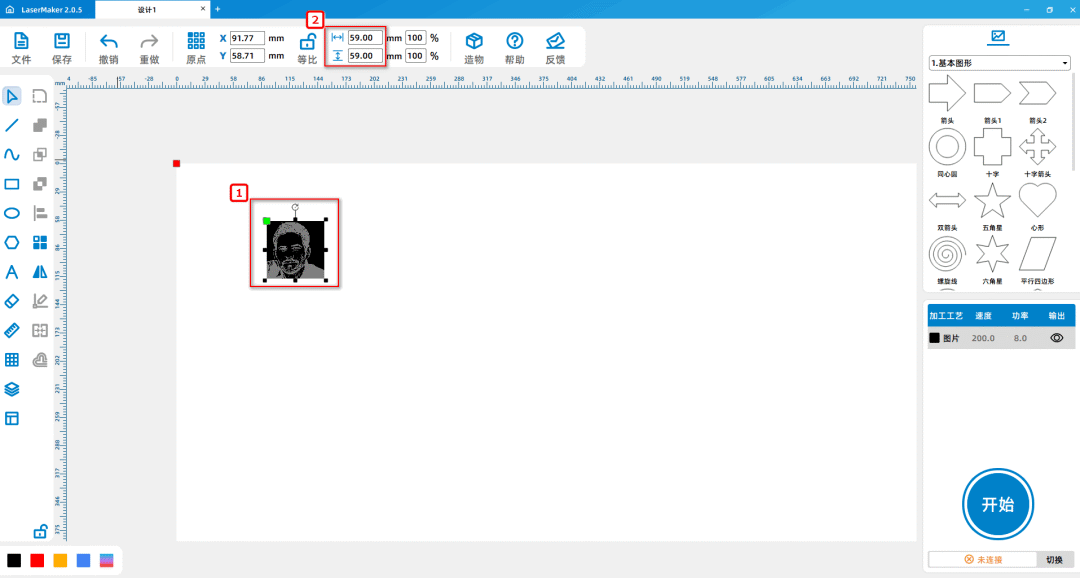
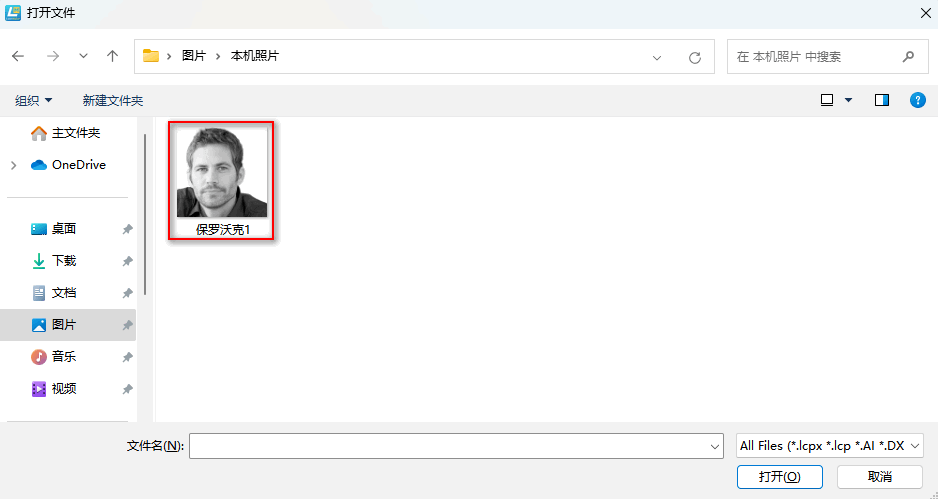
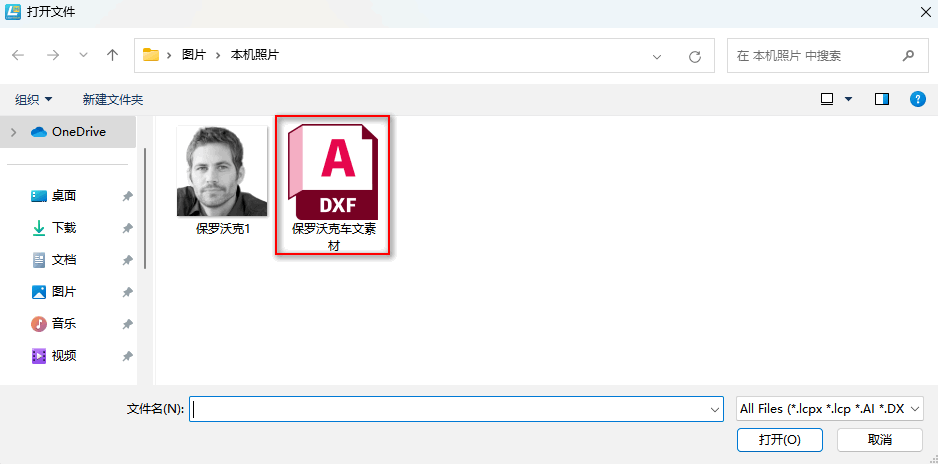
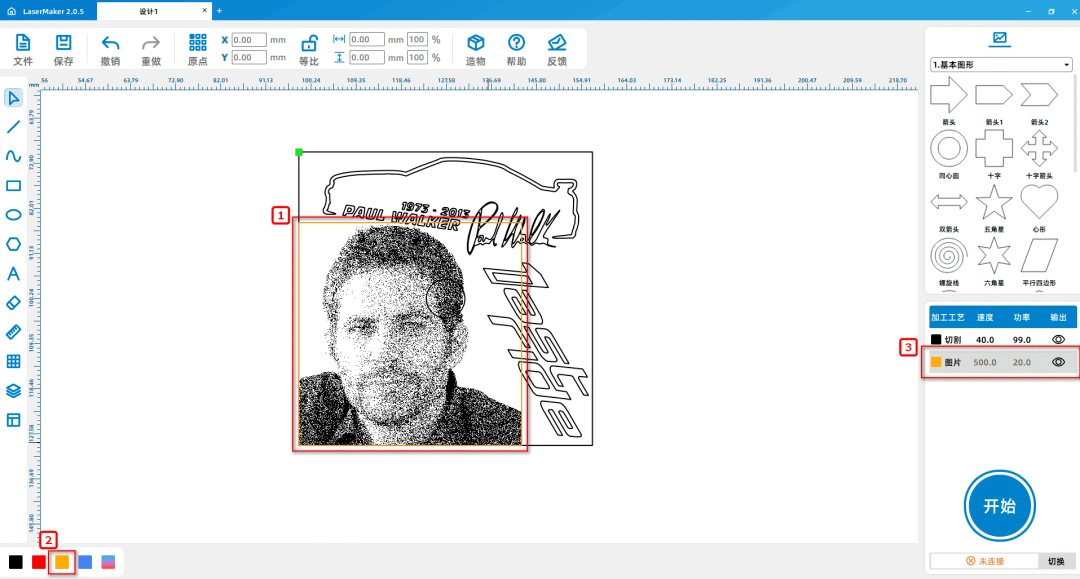
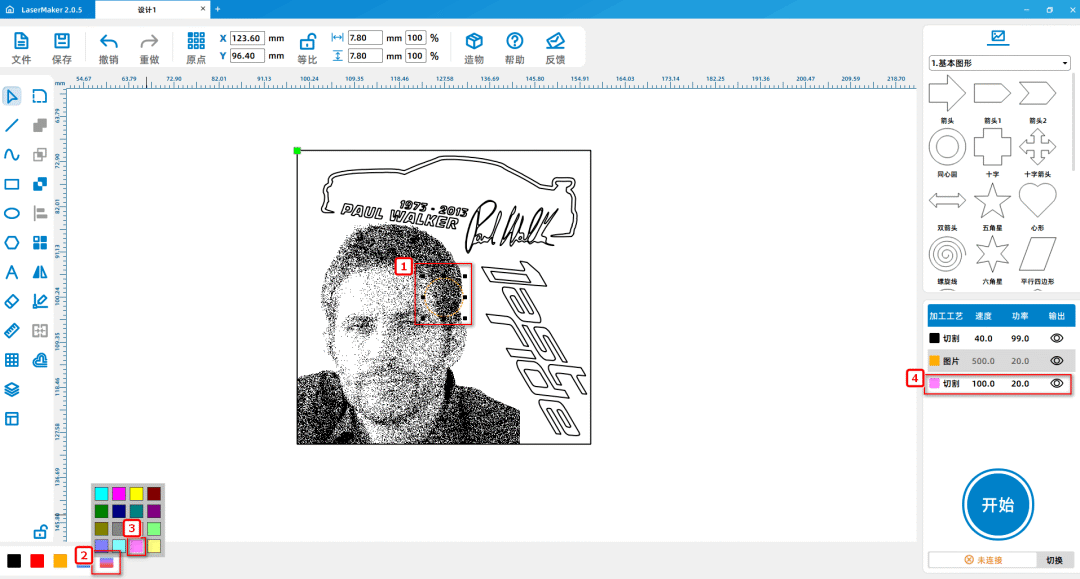
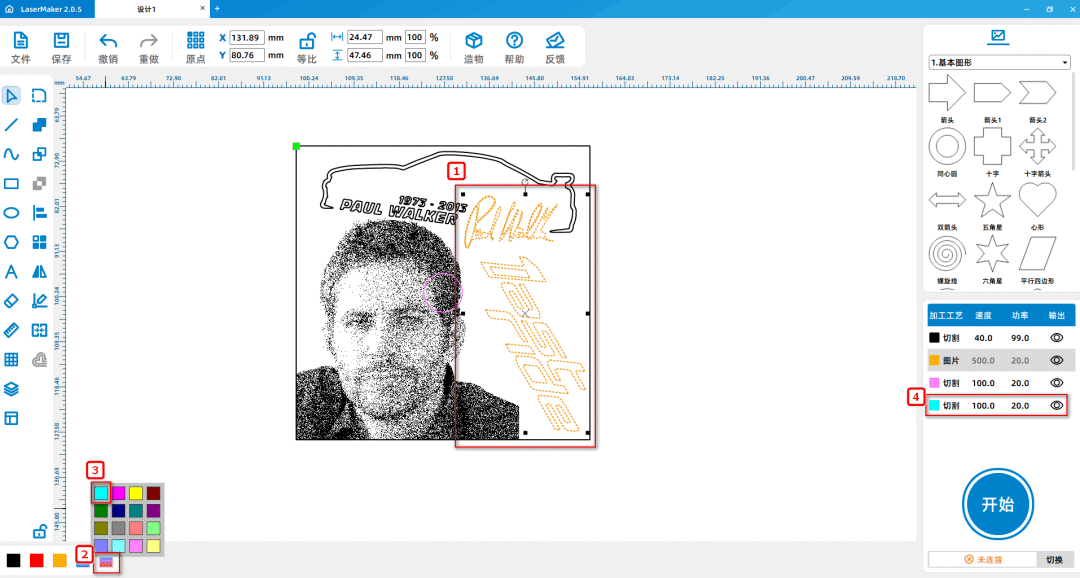
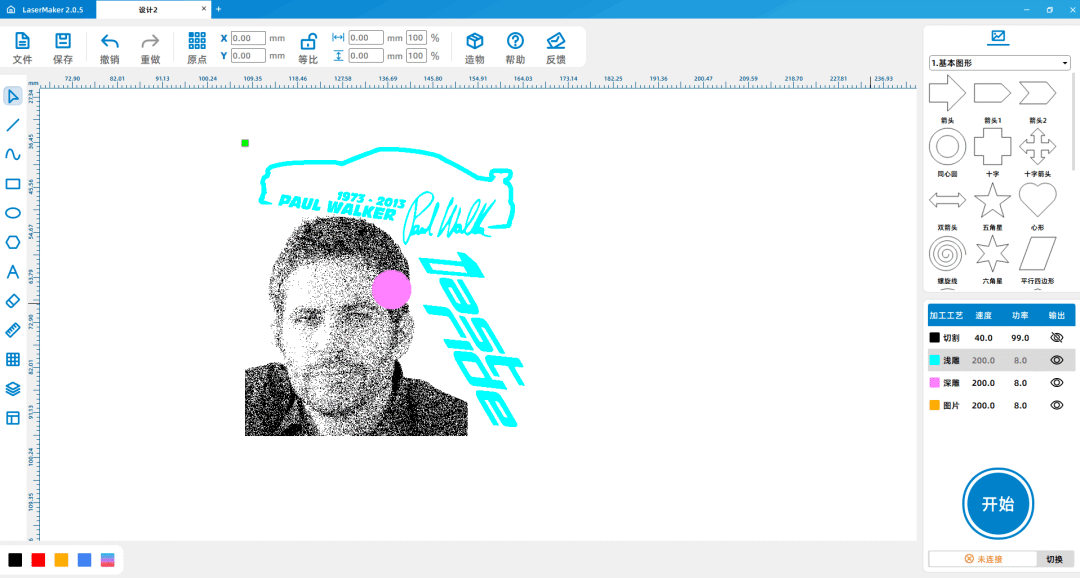
(1)Select image 'Paul Walker'1”Left click on the layer panel in the lower left corner of the mouse to change the contour layer to yellow; Select a perfect circle, left click on the layer panel in the lower left corner of the mouse to change the contour layer to
Purple; Select the image material "Paul Walker Car Text Material", left click on the layer panel in the lower left corner of the mouse to change the contour layer to blue, as shown in the following figure:
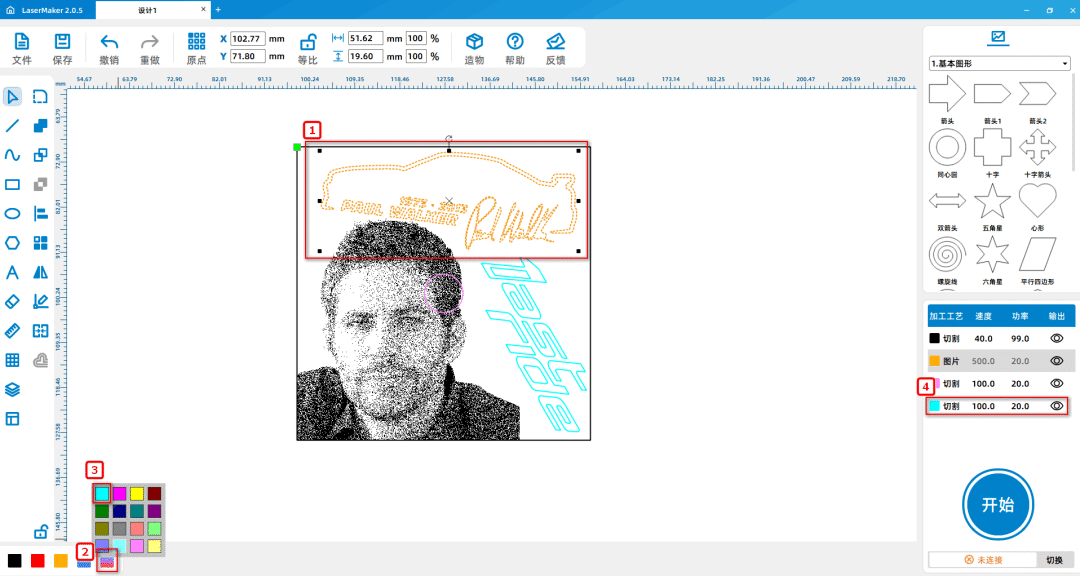
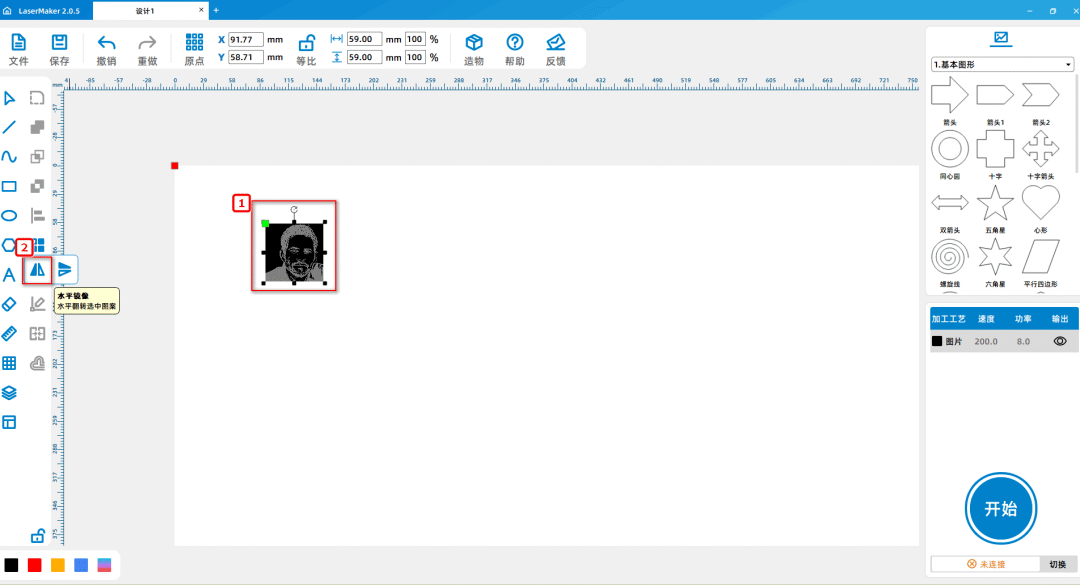
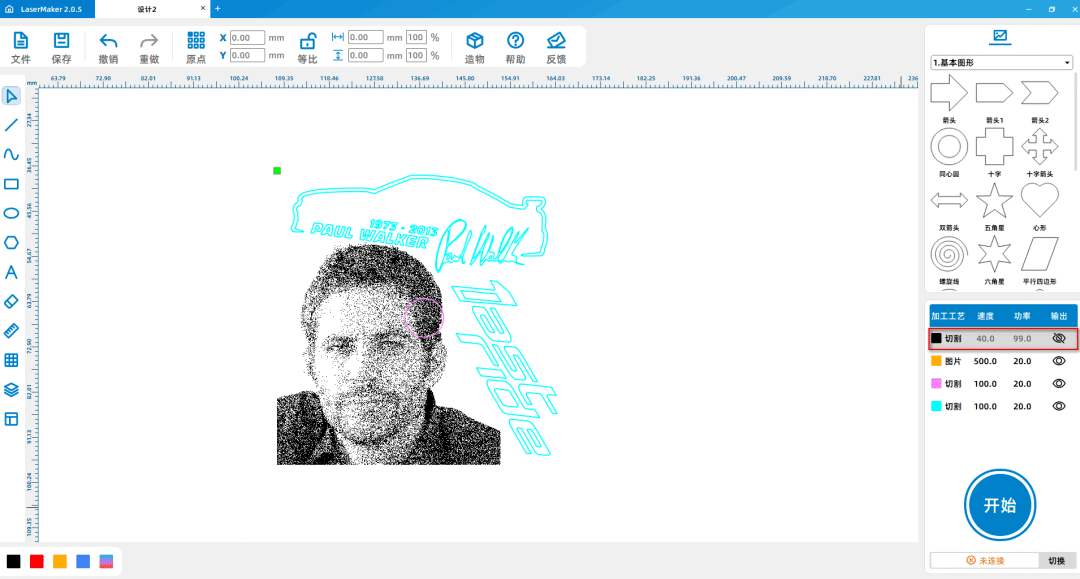
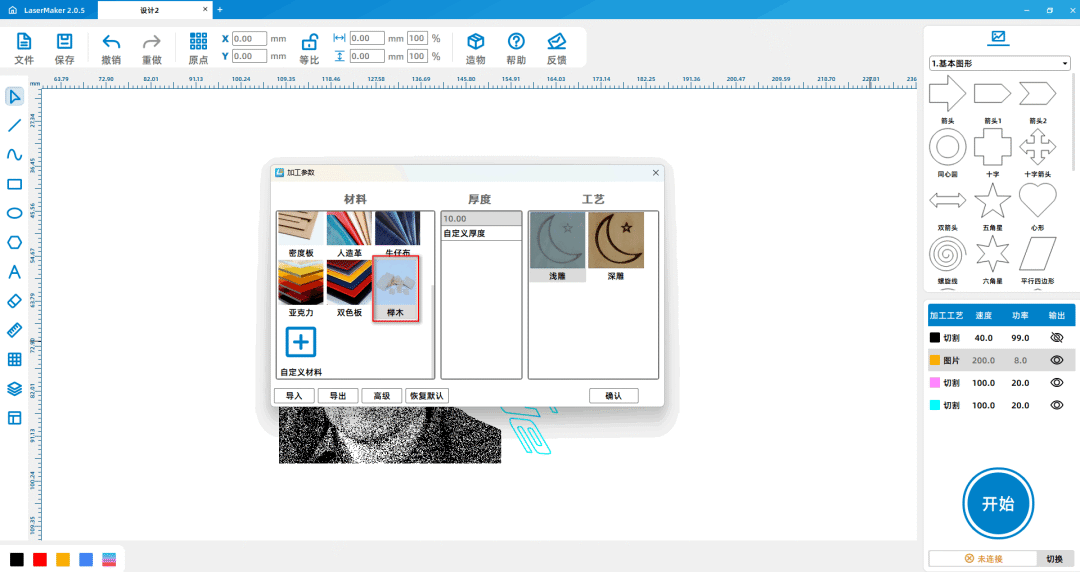
(2)Double click the 'Processing Panel' in the bottom right corner with the mouseBlack layerLeft click on the right eye icon with the mouse to hide the layer, as shown in the following figure:
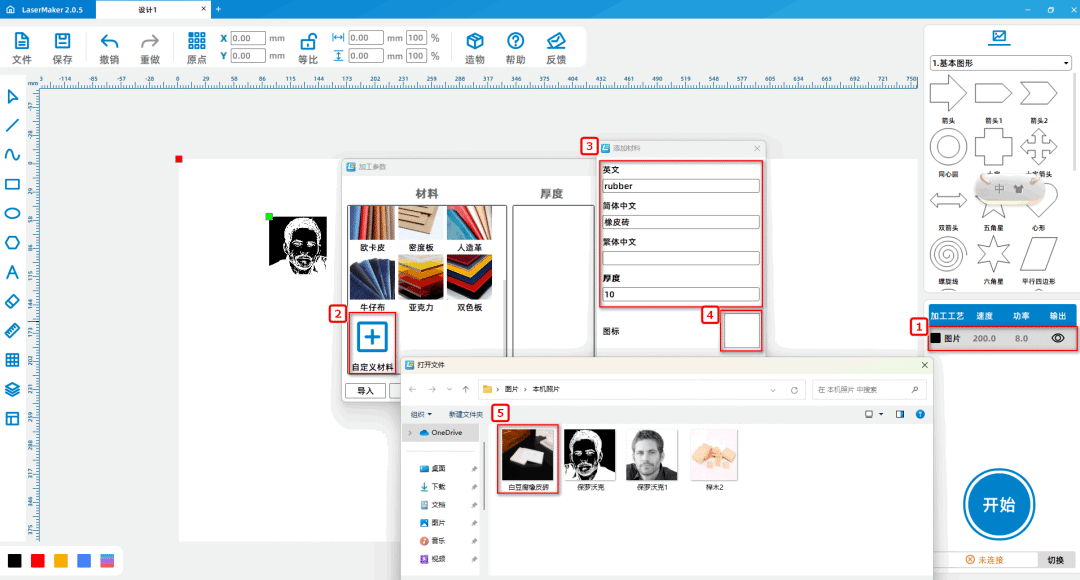
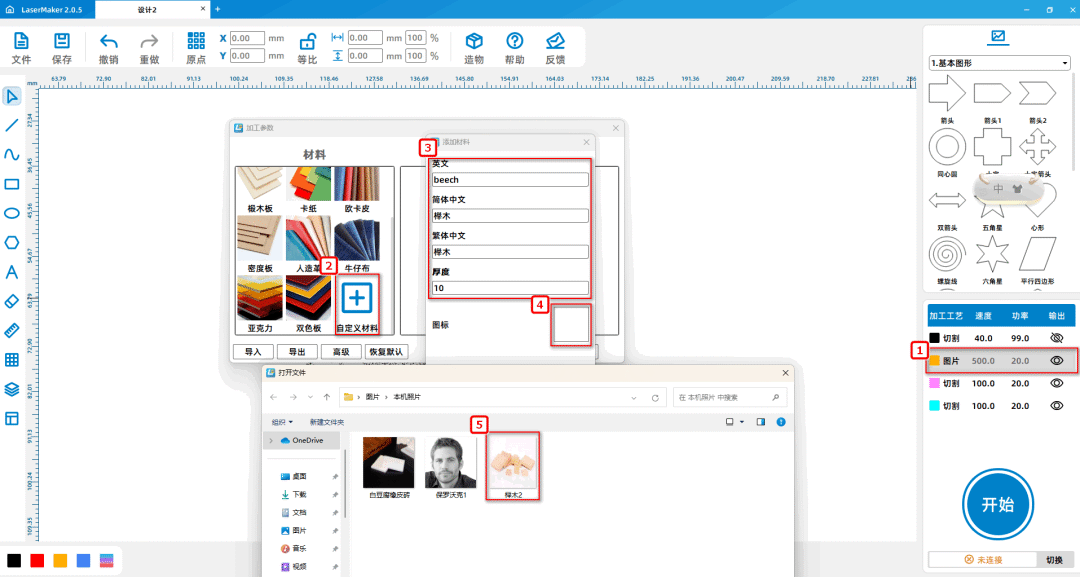
(3)Double click the 'Processing Panel' in the bottom right corner with the mouseYellow layer,Add custom material "beech wood", double-click "custom" with the mouse, and separate English, Simplified Chinese, and Traditional Chinese
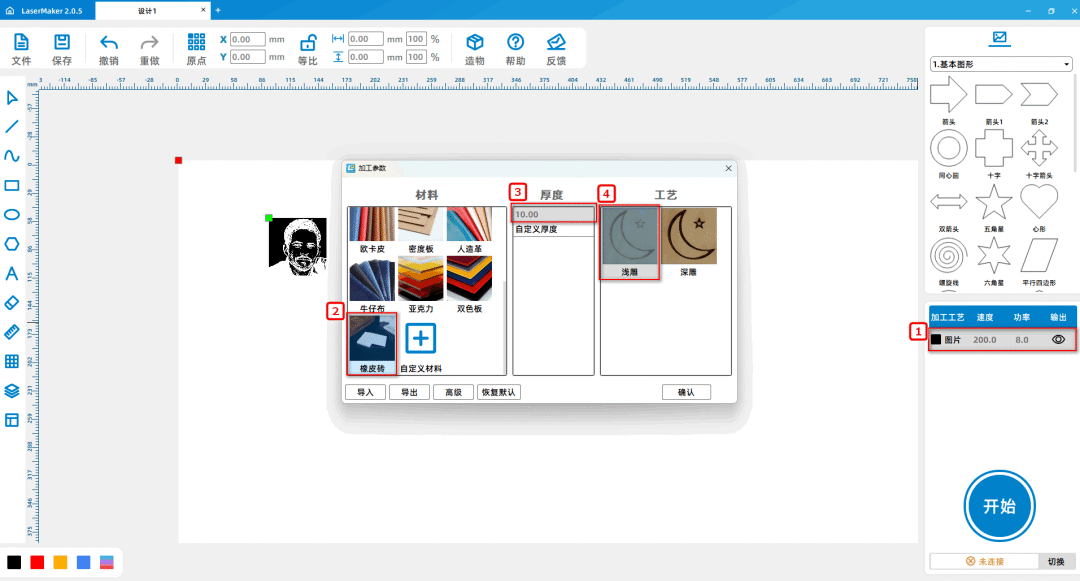
Don't set it asbeechBeech wood, beech wood10mmDouble click the blank icon and select the beech wood material image; Set the material, thickness, and craftsmanship to beech wood10mm、
Shallow carving, as shown in the following picture:
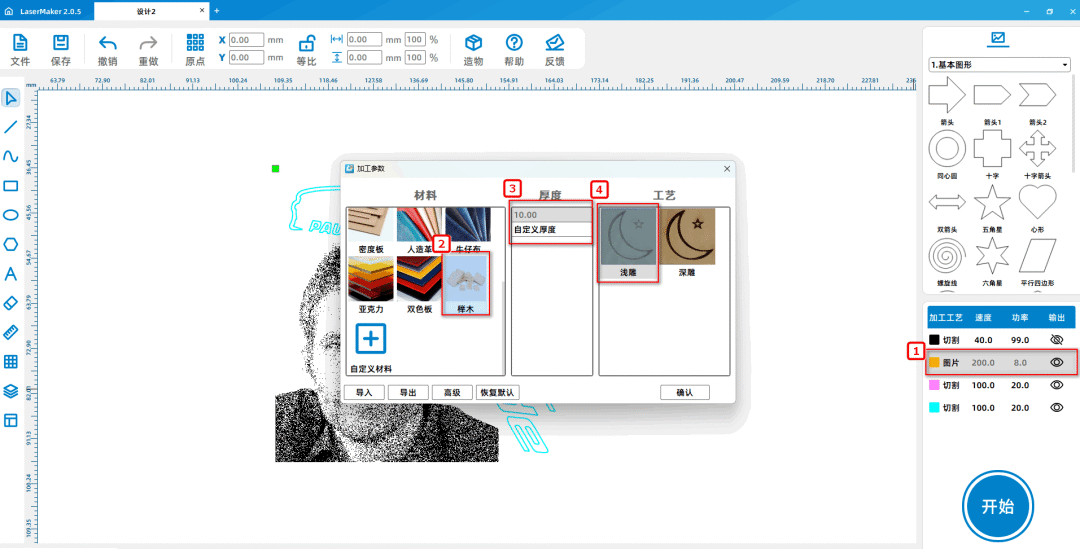
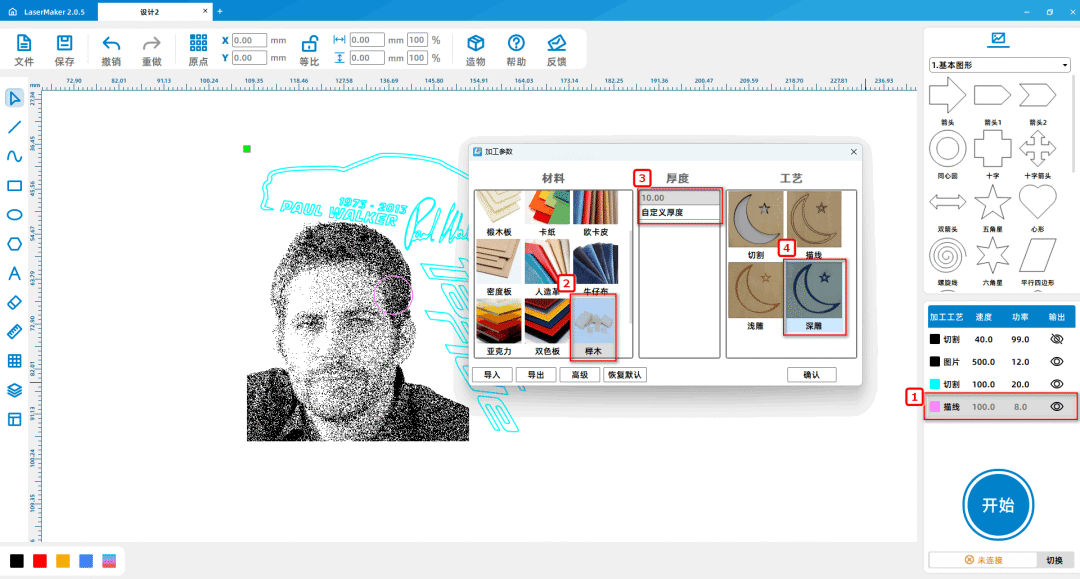
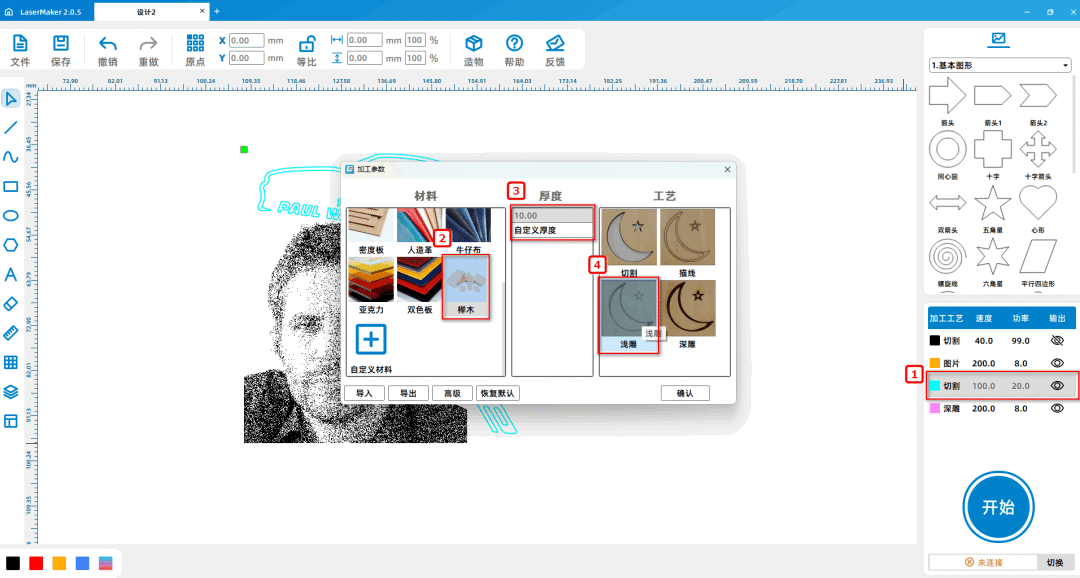
(4)Double click the 'Processing Panel' in the bottom right corner with the mousePurple layer,Set the material, thickness, and craftsmanship to beech wood10mmDeep carving; Double click on the bottom right corner with the mouse to select 'Processing'
The panelBlue layer,Set the material, thickness, and craftsmanship to beech wood10mmShallow carving; Adjust the positions of several layers in the order of "light carving, deep carving" as follows
As shown in the picture:
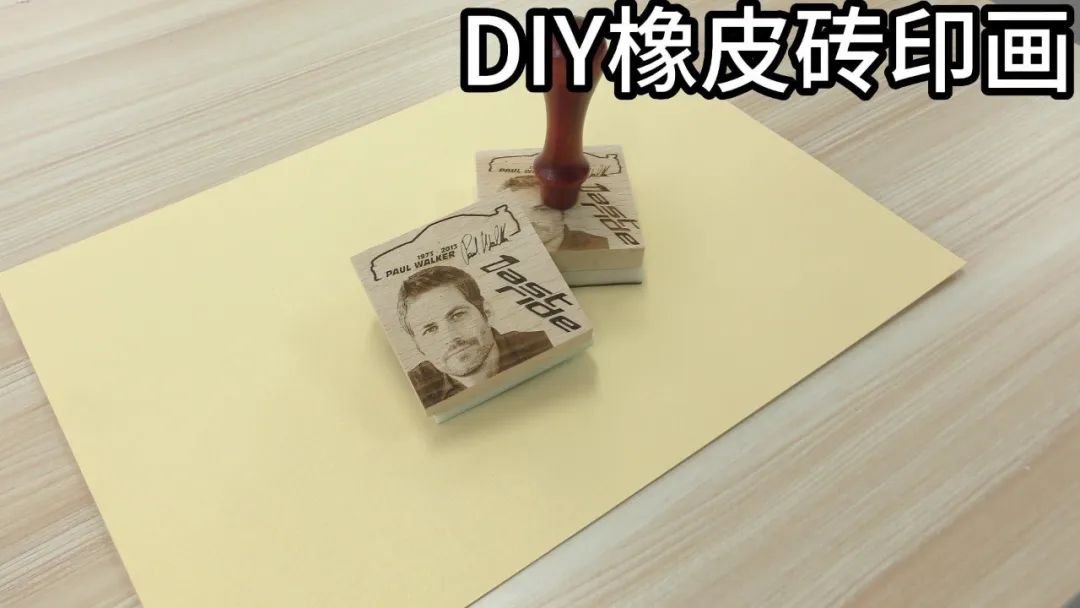
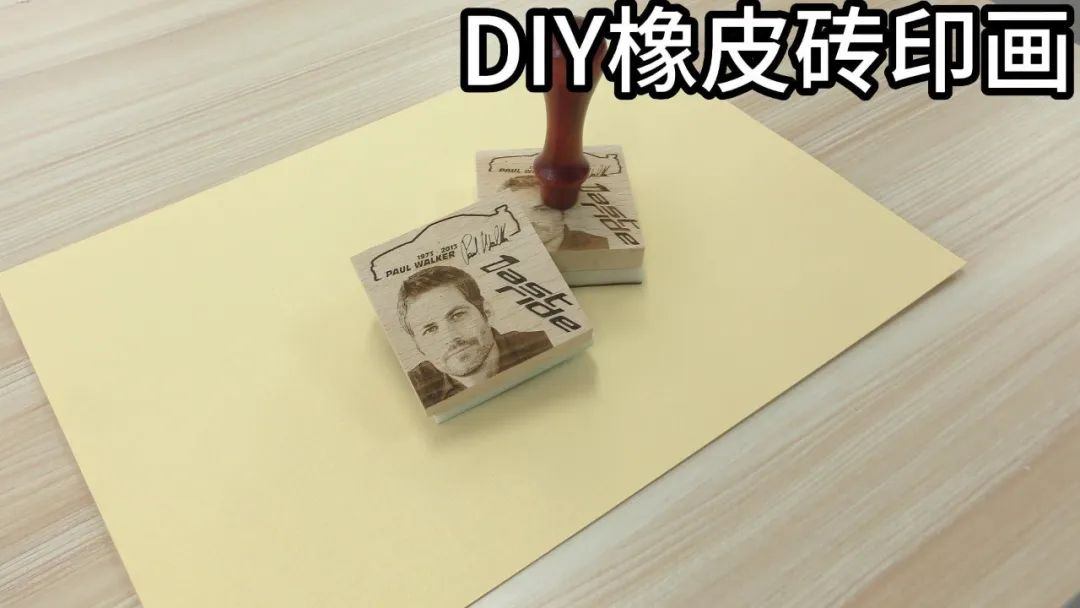
Works Display
summary
In the process of creating this example, we learnedLaserMakerHow to use the 'Add Custom Materials' feature of the software. In the process of completing the 3D project, we need to first analyze the work, analyze its components, and then complete them one by one, and finally assemble them. Drawing and modeling are not difficult, everyone must try and practice more to become a better little designer!
 English
 简体中文
简体中文
 繁體中文
繁體中文
 Français
 Español
 عربي ،
 русский язык
 Português
 Deutsch